wooden toy box plans pdf
Discover versatile wooden toy box plans in PDF format, offering step-by-step guides for creating functional and charming storage solutions. Perfect for DIY enthusiasts of all skill levels.
Overview of the Importance of Toy Boxes
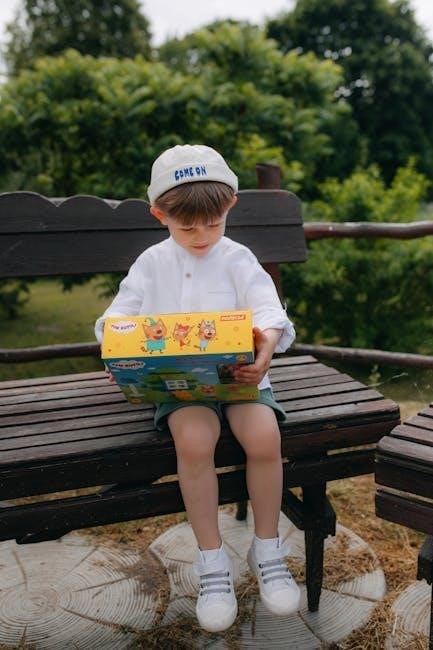
Toy boxes are essential for organizing children’s toys, promoting tidiness, and encouraging responsibility. They provide a safe and accessible storage solution, helping kids quickly find and put away their belongings. Wooden toy boxes also serve as decorative furniture pieces, adding charm to a room while fostering a sense of order and creativity in children.
Why Choose Wooden Toy Boxes?
Wooden toy boxes are a timeless choice, offering durability and sustainability. They provide a classic, elegant appearance while being eco-friendly. With options for customization, they can match any home decor. Plus, they’re made from non-toxic materials, ensuring safety for children. These benefits make wooden toy boxes a practical and stylish storage solution.
Benefits of Using PDF Plans for Woodworking Projects
PDF plans provide clear, detailed instructions with cutting diagrams and material lists. They’re easy to download and print, offering convenience for DIY projects. These files ensure accuracy and organization, making woodworking accessible for all skill levels. With step-by-step guides, PDF plans help bring creative ideas to life efficiently and effectively.
Types of Wooden Toy Box Plans
From simple chests to pirate-inspired designs, wooden toy box plans offer diverse options like rolling wagons, bench-style boxes, and vintage-inspired chests, ensuring a perfect match for any room’s decor.
Simple Chest Designs for Beginners
Simple chest designs are perfect for beginners, requiring only basic tools and materials; These plans often use a single sheet of plywood or pre-milled stock, ensuring quick assembly. Features like a hinged lid and small handles make them functional and easy to build. Step-by-step instructions in PDF formats guide you through measuring, cutting, and assembling. Many designs include optional elements like distressing for a vintage look, while others focus on modern, clean lines. Perfect for organizing toys and fostering organization skills in kids, these chests are both durable and charming.
Pirate Chest and Vintage-Inspired Designs
Pirate chest and vintage-inspired designs add a touch of adventure and nostalgia to toy storage. These plans often include distressing techniques, metal hardware, and ornate details for an authentic look. PDF guides provide step-by-step instructions for creating these unique chests, perfect for DIY enthusiasts. They blend functionality with decorative charm, making them a standout addition to any room while keeping toys neatly organized.
Rolling Wagon and Bench-Style Toy Boxes
Rolling wagon and bench-style toy boxes offer practical storage with added functionality. The wagon design features wheels for easy mobility, while bench-style boxes provide a seating option. PDF plans include detailed instructions for constructing these versatile pieces, perfect for playrooms or entryways. They combine storage with usability, making them a great choice for families seeking both style and convenience in organization solutions.
Materials and Tools Required
Essential materials include plywood, pine, or other durable woods, along with hardware like hinges, handles, and lid supports. Tools such as saws, drills, sanders, and measuring tapes are necessary for precise cuts and smooth finishes, ensuring a sturdy and polished wooden toy box.
Wood Selection: Plywood, Pine, and Other Options
Choosing the right wood is crucial for durability and aesthetics. Plywood is a popular choice due to its smooth surface and resistance to warping. Pine is cost-effective and easy to stain, offering a rustic charm. For a premium look, consider hardwoods like maple or oak, which are denser and more durable. MDF is another budget-friendly option, ideal for a smooth finish, though it’s not a hardwood. Selecting the right material ensures your toy box is both functional and visually appealing.
Hardware: Hinges, Handles, and Lid Supports
Selecting appropriate hardware is crucial for both functionality and safety. Soft-close hinges prevent accidental injuries by stopping lids from slamming shut. Ergonomic handles provide easy access and comfort, while decorative options add style. Lid supports ensure the lid remains stable and open, preventing it from wobbling. Durable hardware not only enhances safety but also contributes to the toy box’s longevity and visual appeal.
Essential Tools: Saws, Drills, Sanders, and More
Essential tools like saws, drills, and sanders are vital for cutting, shaping, and smoothing wood. Measuring tools and clamps ensure accuracy and stability. Safety gear such as gloves and goggles is a must. These tools help in creating a sturdy and polished wooden toy box, making the woodworking process efficient and safe.
Step-by-Step Instructions for Building a Toy Box
Follow detailed guides with cutting diagrams and material lists for precise measurements, assembly, and finishing. PDF plans ensure a smooth process from start to completion.
Measuring and Cutting the Wood
Start by carefully measuring and marking wood according to PDF plans. Use cutting diagrams to ensure accuracy. Cut pieces with saws, then sand edges for smoothness. Label each part for easy assembly later. Double-check measurements to avoid errors, ensuring a precise fit for the toy box design.
Assembling the Frame and Lid
Begin by assembling the frame using pre-cut wood pieces. Attach sides and bottom securely. Next, construct the lid, ensuring it aligns perfectly with the frame. Attach hinges and handles, allowing smooth opening and closing. Double-check alignment and stability. Follow PDF instructions for precise assembly, ensuring the lid supports weight safely and operates smoothly.
Sanding and Finishing the Surface
Start by sanding all wood surfaces to ensure smoothness. Use fine-grit sandpaper for a polished finish. Apply paint or stain, allowing it to dry completely. For a vintage look, distress the wood using a hammer or screwdriver. Finally, apply a non-toxic finish to protect the wood and ensure safety. Follow PDF guides for detailed finishing techniques.
Design Ideas and Customization
Elevate your toy box with creative designs like molding, paint, or distressed finishes. Customize to match your home decor, from vintage charm to modern styles, using PDF guides.
Adding Molding for a Polished Look
Add elegance to your toy box with molding, creating a Victorian or traditional style. Use 1/2 x 3/4 pine molding for a chunkier appearance. This optional detail enhances the design, offering a refined finish. Many PDF plans include molding instructions, providing material lists and tool recommendations to achieve a polished look effortlessly.
Different Paint and Stain Options
Customize your toy box with various paint and stain options to match any decor. Choose vibrant colors for a playful look or opt for stains to highlight the wood grain. Many PDF plans offer tips on selecting finishes, ensuring durability and safety for children while adding a personal touch to the design.
Distressing the Wood for a Vintage Appearance
Achieve a vintage look by distressing the wood, using techniques like hammering or scratching. PDF plans often include methods to create an aged finish, enhancing the toy box’s rustic charm. This step adds character and makes the piece look like a treasured heirloom, appealing to those who love classic designs.
Safety Features to Consider
Ensure soft-close hinges, smooth edges, and non-toxic finishes for child safety. Reinforced lids and secure latches prevent accidents, making wooden toy boxes durable and kid-friendly storage solutions.
Soft-Close Hinges and Lid Safety
Soft-close hinges ensure lids shut gently, preventing finger injuries. Choose hinges with a slow-close mechanism for added safety. Lid supports can also be installed to keep the lid open, avoiding accidental closures. These features are essential for creating a safe and durable wooden toy box, especially for young children. Always prioritize hardware designed for child safety.

Smooth Edges and Non-Toxic Finishes
Ensure all edges are sanded smooth to prevent injuries. Use non-toxic paints or natural wood finishes to create a safe environment for children. Opt for water-based stains or organic sealants to avoid harmful chemicals. These steps ensure the toy box is both durable and child-friendly, promoting safety and longevity of the wooden toy box.
Reinforced Lids for Heavy Use
Reinforced lids ensure durability and longevity. Use lid supports or sturdy hinges to handle heavy use. This prevents warping and breaking, ensuring a safe and long-lasting toy box for children. Proper reinforcement is crucial for maintaining the structure and safety of the toy box, providing peace of mind for parents.
Free PDF Resources for Toy Box Plans
Explore free PDF resources offering detailed woodworking plans for toy boxes. Includes material lists, cutting diagrams, and step-by-step instructions for various designs, ensuring easy and precise construction.
Where to Find Reliable Free Plans Online
Find reliable free wooden toy box plans online through websites like Ana White, Home Beautiful, and Instructables. These platforms offer comprehensive guides, including material lists, cutting diagrams, and step-by-step instructions. Many plans cater to both beginners and experienced woodworkers, with options for custom designs. Some sites also feature kid-friendly projects, making it a fun family activity to build together.
Downloading and Printing PDF Files
Easily download free wooden toy box PDF plans from reputable sites like Ana White or Home Beautiful. These files often include detailed measurements, cutting diagrams, and material lists. Print the plans on standard paper for easy reference while building. Many PDFs also feature step-by-step guides and 3D visuals to simplify the woodworking process for both beginners and experienced crafters.
Using Cutting Diagrams and Material Lists
Cutting diagrams and material lists in PDF plans provide clear instructions for measuring and cutting wood accurately. They outline essential tools and supplies, ensuring no details are missed. Use these guides to organize materials efficiently, preventing waste and saving time. Double-check measurements before cutting to ensure precision and a successful build.
Skill Levels and Difficulty
Wooden toy box plans cater to all skill levels, from beginners to advanced woodworkers. Choose projects that match your expertise, with options for kids to assist in simple steps.
Plans for Beginners
Beginners can start with simple wooden toy box plans, offering easy-to-follow instructions and basic techniques. These plans include material lists, tool requirements, and step-by-step guides, ensuring a smooth learning experience. Perfect for those new to woodworking, they focus on essential skills like measuring, cutting, and assembling. Quick to complete, these designs require minimal materials and tools, making them ideal for first-time projects.
Intermediate and Advanced Projects
Intermediate and advanced woodworkers can explore complex toy box designs, such as pirate chests or vintage-inspired storage solutions. These plans often include intricate details, multiple compartments, and advanced techniques like distressing or molding. Detailed PDF guides provide cutting diagrams, material lists, and step-by-step instructions, allowing craftsmen to refine their skills and create unique, functional pieces for years of use.
Inviting Kids to Help with Simple Steps
Engage children by letting them assist with simple tasks, like painting or assembling small parts. This fosters creativity and responsibility while teaching basic woodworking concepts. Kids can help with sanding, decorating, or arranging toys inside the finished box, making the project a fun, educational experience for the whole family to enjoy together.
Storage and Organization Solutions
Maximize space with wooden toy boxes featuring dividers and multi-functional designs, ensuring toys are organized and easily accessible while blending seamlessly with home decor.
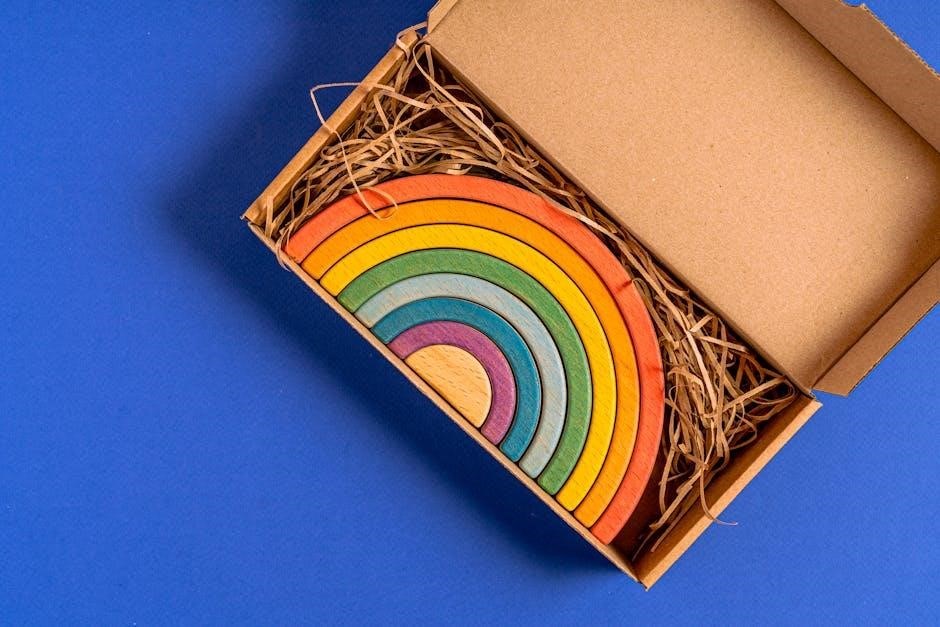
Optimizing Space with Dividers
Dividers in wooden toy boxes help maximize storage efficiency by separating toys into categories. Adjustable or fixed dividers keep items organized, making it easier for children to find and access their toys. This feature ensures a tidy play area while maintaining functionality. Many PDF plans include divider options, allowing for customizable storage solutions that grow with your child’s needs.
Combining Toy Boxes with Other Furniture
Wooden toy boxes can seamlessly integrate with other furniture, such as beds or shelves, to create multi-functional storage solutions. Designs like storage benches or under-bed toy boxes offer practical combinations, enhancing both functionality and style. PDF plans often include ideas for merging toy boxes with existing furniture, providing versatile options for organizing toys while maintaining a cohesive room design.
Multi-Functional Designs: Storage Bench and More
Explore multi-functional wooden toy box designs, such as storage benches, that combine toy storage with seating. These plans often include features like hinged lids or compartments, offering practical solutions for small spaces. PDF guides provide detailed instructions for building these versatile pieces, blending functionality with stylish design to enhance any room’s decor and organization capabilities.
Building a wooden toy box is a fun and rewarding experience, offering a practical storage solution while fostering organization and creativity in children for years to come.
Final Tips for Successful Toy Box Building
Building a wooden toy box successfully requires precise measurements, quality materials, and attention to safety features like soft-close hinges. Ensure all edges are smooth and finishes are non-toxic. Test the lid mechanism before final assembly and consider adding a protective coat. For a polished look, paint or stain according to your preference. These tips ensure a durable, functional, and visually appealing project that will delight both kids and adults alike.
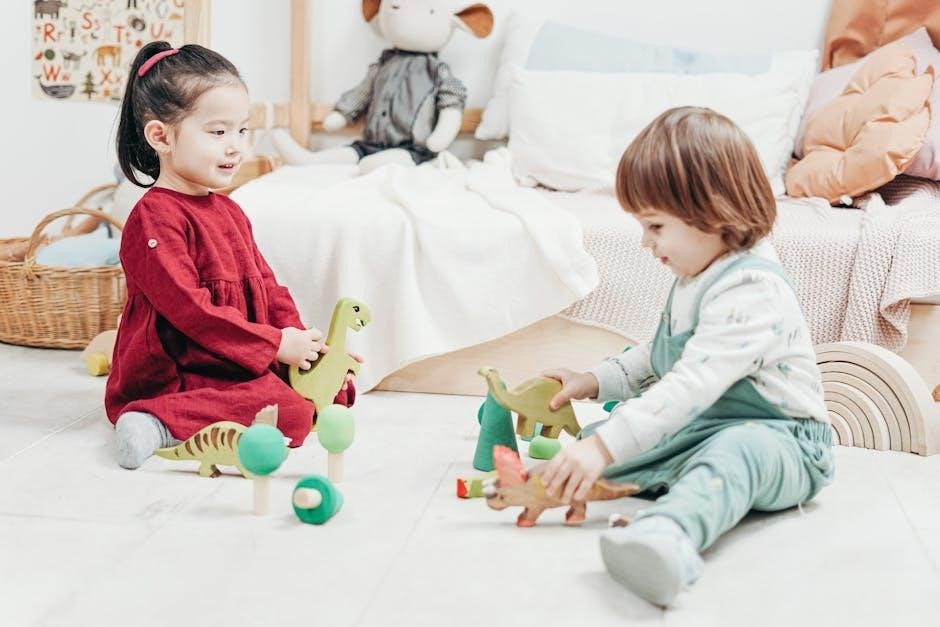
Encouraging Organization and Creativity in Kids
A wooden toy box fosters organization by providing a designated space for toys, teaching kids to tidy up. Customize with vibrant colors or themed designs to spark creativity. Involving children in the building process can also inspire a sense of ownership and pride. Add compartments for different toy types to promote sorting skills and make playtime more efficient.