honeywell t4 pro installation manual pdf
The Honeywell T4 Pro Thermostat is a programmable, user-friendly device designed for efficient temperature control. It supports various HVAC systems, including forced air and hydronics, ensuring compatibility. With its intuitive interface and programmable scheduling, it offers energy-saving features. The thermostat features a universal mounting system and a backlit display for easy operation. It is ideal for homeowners seeking a reliable, modern solution for temperature management.
1.1 Overview of the Honeywell T4 Pro Thermostat
The Honeywell T4 Pro Thermostat is a programmable, energy-efficient device designed for precise temperature control. It features a backlit display and intuitive on-screen menus for easy operation. The thermostat supports various HVAC systems, including forced air and hydronics, making it versatile for different home setups. Its universal mounting system ensures a seamless installation process, while the optional decorative cover plate enhances its aesthetic appeal. The T4 Pro also offers programmable scheduling, allowing users to customize temperature settings for optimal comfort and energy savings.
With its advanced features and user-friendly interface, the Honeywell T4 Pro Thermostat is an ideal solution for homeowners seeking a modern, reliable temperature management system. Its compatibility with multiple power options and wiring configurations ensures flexibility during installation. The thermostat is also equipped with a battery-powered option, eliminating the need for a common wire in some setups. Overall, it balances functionality, efficiency, and ease of use, making it a popular choice for smart home upgrades.
1.2 Importance of the Installation Manual
The installation manual for the Honeywell T4 Pro Thermostat is crucial for a successful setup. It provides step-by-step instructions, ensuring proper wiring and configuration. Without it, users may encounter issues like incorrect wire connections or system malfunctions. The manual also highlights essential safety precautions, preventing potential hazards. By following the guide, users can optimize thermostat performance, achieve energy efficiency, and ensure compatibility with their HVAC system. Referencing the manual guarantees a smooth installation process and maximizes the thermostat’s features for enhanced home comfort.
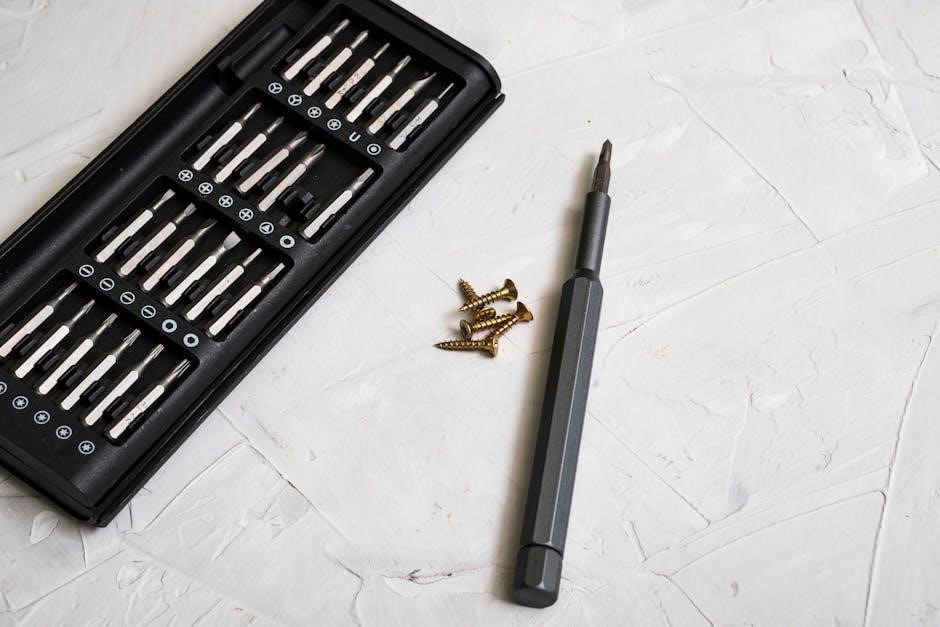
Pre-Installation Requirements
Ensure compatibility with your HVAC system, verify power requirements, and check the package contents. Familiarize yourself with the wiring diagram and gather necessary tools before starting the installation.

2.1 Understanding the Package Contents
The Honeywell T4 Pro Thermostat package includes the thermostat unit, UWP mounting system, J-box adapter, decorative cover plate, screws, anchors, and 2 AA batteries. The installation instructions and user guide are also provided. Ensure all items are present before proceeding. The UWP mounting system simplifies installation, while the decorative cover plate enhances the thermostat’s appearance. Refer to the manual for detailed descriptions and proper usage of each component during setup.
2.2 Checking Compatibility with Your HVAC System
Before installing the Honeywell T4 Pro Thermostat, ensure compatibility with your HVAC system. It supports single-stage (1H/1C) and multi-stage (2H/1C or 2H/2C) systems. The thermostat is compatible with forced air, hydronics, and dual-fuel setups. Verify wiring requirements, as some systems may need a C-wire for proper operation. Consult the user manual for detailed compatibility specifications to confirm it matches your HVAC configuration, ensuring smooth installation and functionality.
Installation Steps
Mount the thermostat, connect wires according to terminal labels, and ensure proper power supply. Follow the manual for step-by-step guidance to complete the installation successfully.
3.1 Mounting the Thermostat
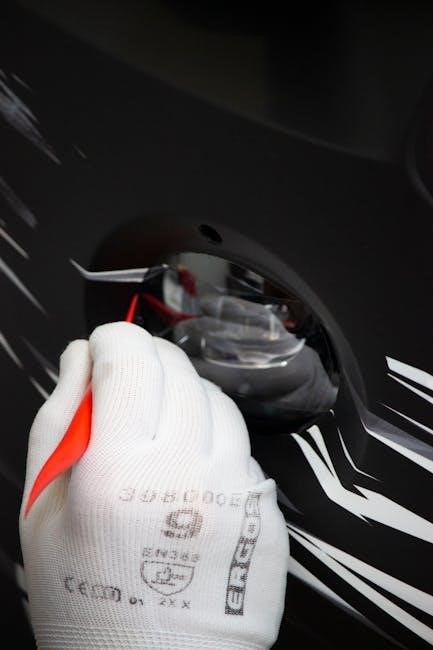
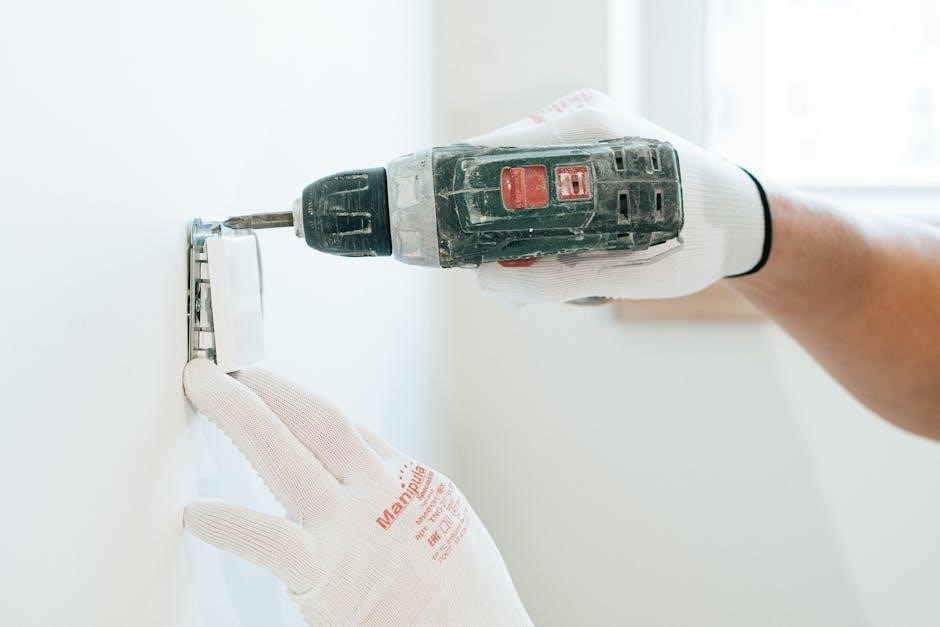
To mount the Honeywell T4 Pro Thermostat, start by separating the wallplate from the thermostat. Use a screwdriver to open the wallplate terminal cover. Attach the mounting system to the wall, ensuring it is level and secure. If necessary, use the provided screws and anchors for installation. Once the wallplate is properly attached, reattach the thermostat to the mounting system. Tighten all connections firmly but avoid over-tightening. Ensure the thermostat is level for accurate temperature readings and proper functionality. Follow the installation guide for detailed steps.
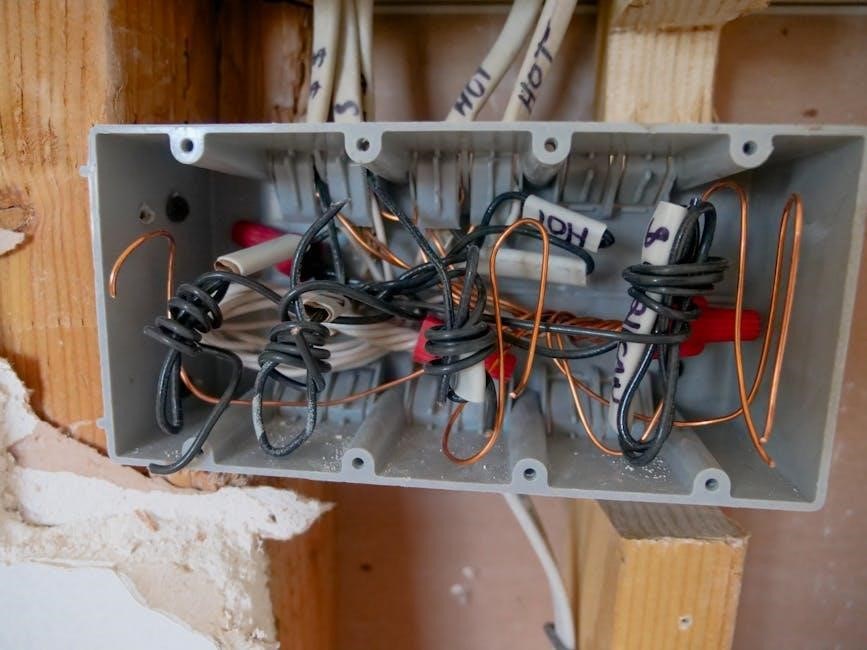
3.2 Connecting the Wires
Connecting the wires to the Honeywell T4 Pro Thermostat requires care to ensure proper functionality. Identify the terminals on the thermostat, such as Y (compressor), W (heating), and G (fan). Match these wires to your HVAC system’s corresponding terminals, following the installation manual. For systems requiring a common wire, ensure the C-wire is connected. Secure all connections firmly to avoid loose wires. Double-check the wiring configuration to prevent errors. Refer to the manual for specific wiring diagrams tailored to your HVAC type, such as forced air or hydronic systems.
3.3 Powering the Thermostat

To power the Honeywell T4 Pro Thermostat, ensure the system is compatible with your HVAC setup. If a C-wire is required, connect it to the thermostat’s C terminal for continuous power. For systems without a C-wire, the thermostat can be battery-powered using 2 AA batteries. Turn off power to your HVAC system before connecting wires to avoid electrical hazards. Follow the manual’s wiring guide to secure connections. Verify the power source matches the thermostat’s electrical ratings for proper operation. This ensures reliable performance and prevents potential issues.
Wiring and Terminal Designations
Correct wiring is essential for proper thermostat function. The terminals include Y, W, G, and C wires, supporting forced air and hydronics systems. Follow the manual for accurate connections to ensure compatibility and safe operation.
4.1 Understanding the Terminal Labels
The terminal labels on the Honeywell T4 Pro Thermostat are designed to simplify wiring. Each terminal corresponds to a specific HVAC function, such as cooling (Y), heating (W), and fan control (G). The C-terminal connects the common wire, ensuring continuous power. Properly identifying and connecting these terminals is crucial for system performance. Refer to the installation manual for a detailed wiring diagram and step-by-step instructions to avoid errors. Correct terminal connections ensure safety, efficiency, and reliable operation of your HVAC system.
4.2 Wiring Conventions for Forced Air and Hydronics Systems
For forced air systems, connect the Y terminal to the compressor contactor, W to the heating relay, and G to the fan relay. Hydronics systems may require connections to zone valves or pumps. Ensure proper wiring based on your HVAC type. Refer to the manual for detailed diagrams. Incorrect wiring can lead to system malfunctions. Always verify compatibility with your specific HVAC setup before proceeding. Proper connections ensure safe and efficient operation of both forced air and hydronics systems with the Honeywell T4 Pro Thermostat.
Thermostat Features and Programming

The Honeywell T4 Pro offers programmable temperature scheduling, energy-saving modes, and a backlit display for easy navigation. Set time, date, and custom schedules to optimize comfort and efficiency.
5.1 Setting Up the Time and Date
Press the Menu button and navigate to the TIME option using the arrows. Select your preferred format (12HR or 24HR). Adjust the hour and minutes using the arrows and press Select to confirm. For the date, revisit the menu, select DATE, and set the month, day, and year accordingly. Press Select to save your settings and exit the menu.
5.2 Programming Temperature Schedules
Access the menu and select SCHEDULE to create a temperature program. Use the arrow keys to set the desired temperature for different times of the day. Program up to four periods daily, adjusting settings for when you wake, leave, return, and sleep. Press Select to confirm each adjustment. Use the HOLD feature to override the schedule temporarily. Save your settings by pressing Select again and exit the menu. This ensures energy efficiency and consistent comfort throughout the day.
Troubleshooting Common Issues
Common issues include the thermostat not turning on or incorrect temperature readings. Check the power source, wiring connections, and ensure the C-wire is properly connected if required.
6.1 Resolving Power Issues
Power issues with the Honeywell T4 Pro Thermostat often stem from wiring or connectivity problems. Ensure the thermostat is properly connected to the power source and the C-wire (if required) is securely attached. Check the circuit breaker or fuse box to confirm power supply to the HVAC system. If the thermostat still doesn’t power on, verify all wire connections and consult the installation manual. Resetting the system or replacing the batteries may also resolve the issue. If problems persist, contact a professional or Honeywell support for assistance.
6.2 Fixing Wiring-Related Problems
Wiring issues can prevent the Honeywell T4 Pro Thermostat from functioning properly. Start by checking all wire connections for tightness and ensuring they are connected to the correct terminals. Refer to the wiring diagram in the manual to confirm proper connections. If the thermostat fails to control the HVAC system, verify that the Y, W, and G wires are correctly assigned. For systems requiring a C-wire, ensure it is connected to provide consistent power. If issues persist, check for short circuits or damaged wires and consult a licensed electrician or Honeywell support for further assistance.
Maintenance and Upkeep
Regular maintenance ensures optimal performance. Clean the display and internal components periodically to prevent dust buildup. Replace batteries every 6-12 months to maintain functionality. Check wiring connections regularly for looseness or corrosion, which can cause malfunctions. Schedule annual HVAC system checks to ensure proper operation.
7.1 Cleaning the Thermostat
Cleaning the Honeywell T4 Pro Thermostat is essential for maintaining its performance. Power down the device before cleaning to avoid damage. Use a soft, dry cloth to wipe the display and exterior surfaces. For stubborn marks, a slightly damp cloth can be used, but avoid liquids entering the thermostat. Regular cleaning prevents dust buildup, which can interfere with temperature sensing and display clarity. This simple maintenance step ensures accurate operation and extends the product’s lifespan. Always refer to the manual for detailed cleaning instructions.
7.2 Replacing Batteries
Replacing batteries in the Honeywell T4 Pro Thermostat is a straightforward process. The device uses two AA batteries, located behind the faceplate. To replace them, power down the thermostat, remove the faceplate, and carefully take out the old batteries. Insert the new ones, ensuring correct polarity. Reattach the faceplate and restore power. Use high-quality alkaline batteries for optimal performance. Regular battery replacement prevents system shutdowns and ensures continuous operation. This simple maintenance task helps maintain accurate temperature control and overall functionality. Always refer to the manual for specific guidance.
The Honeywell T4 Pro Thermostat installation is now complete. For further assistance, refer to the official Honeywell support website or contact their customer service team directly.
8.1 Summary of Key Installation Steps
The Honeywell T4 Pro Thermostat installation involves separating the wallplate, connecting wires according to terminal designations, and mounting the thermostat. Ensure proper power connections, including the C-wire if required. Follow the on-screen menus for installer setup and programming. Refer to the user manual for specific configurations, such as forced air or hydronics systems. Double-check all connections before powering on. Once installed, program temperature schedules and verify system operation. For detailed guidance, consult the official Honeywell T4 Pro installation guide or support resources.
8.2 Where to Find Additional Support
For further assistance, visit the Honeywell Home website to access the official T4 Pro Thermostat user manual and installation guide. Download the PDF manual for detailed instructions. Additionally, Honeywell offers customer support through live chat, phone, and email. Check the Honeywell support page for troubleshooting tips, replacement information, and video guides. You can also find helpful resources on Resideo’s official website and authorized dealer portals. For complex issues, contact a certified HVAC professional or refer to the Honeywell community forums for peer advice.